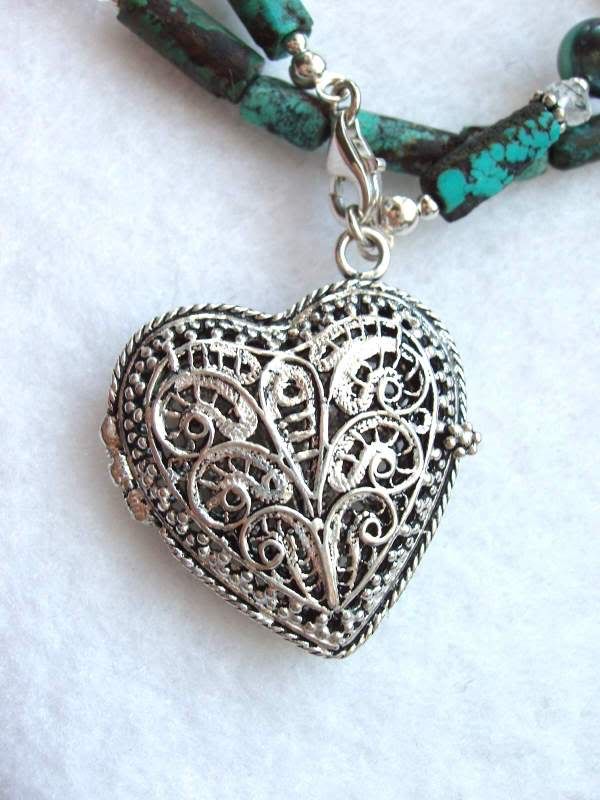
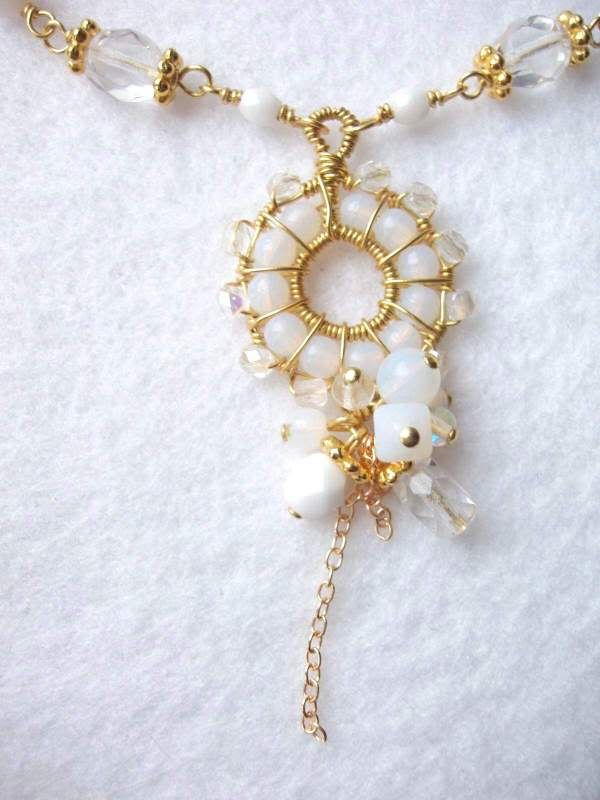
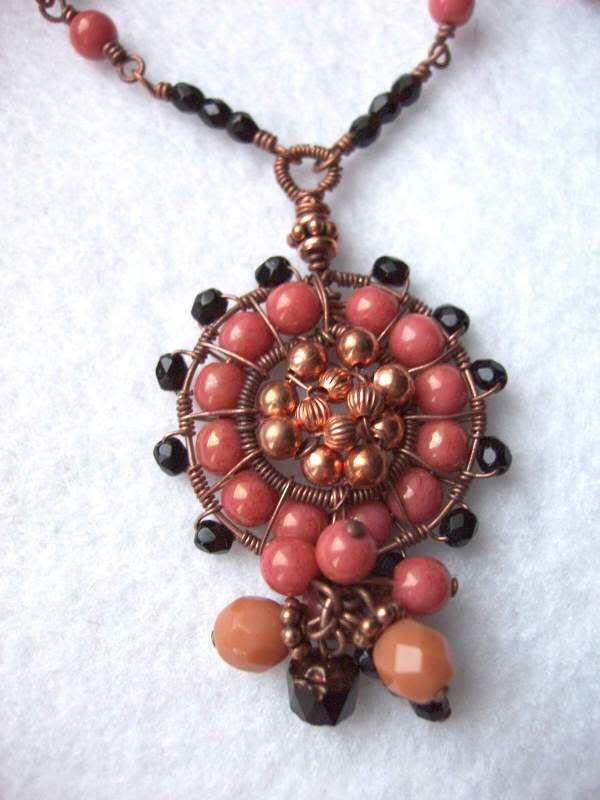
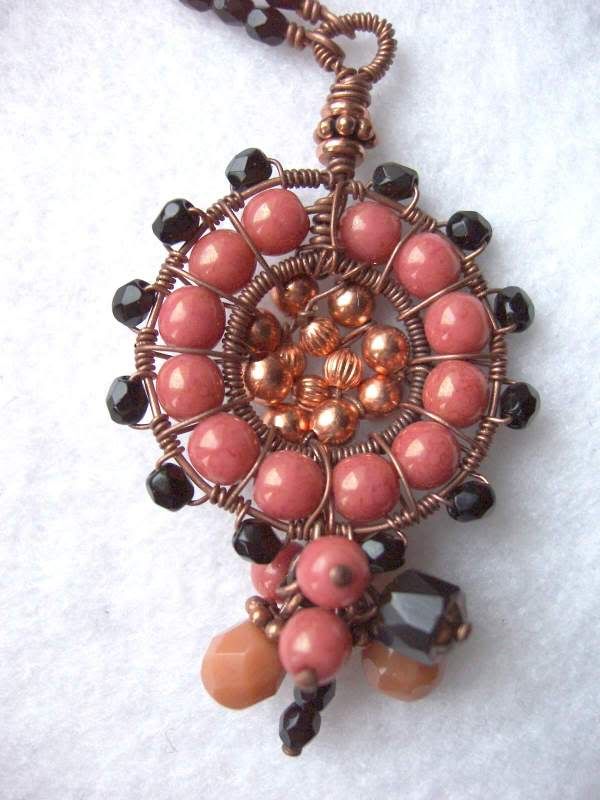
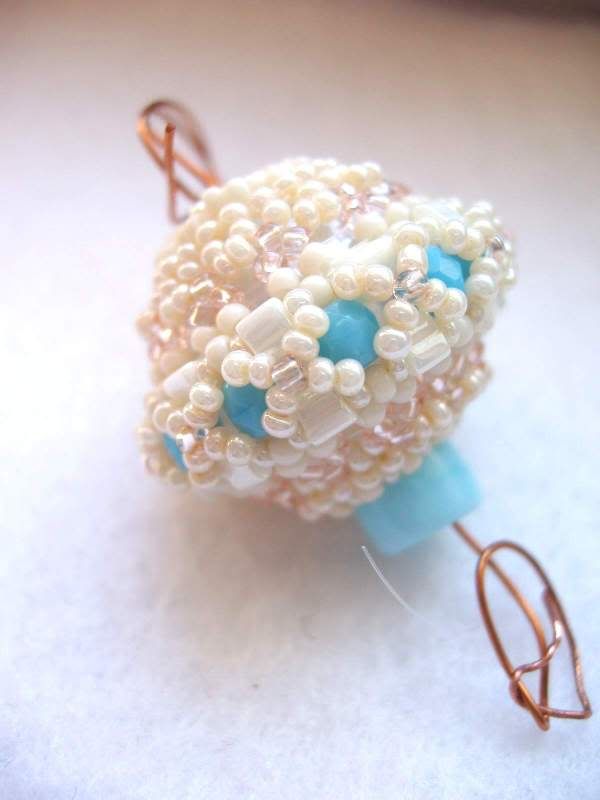
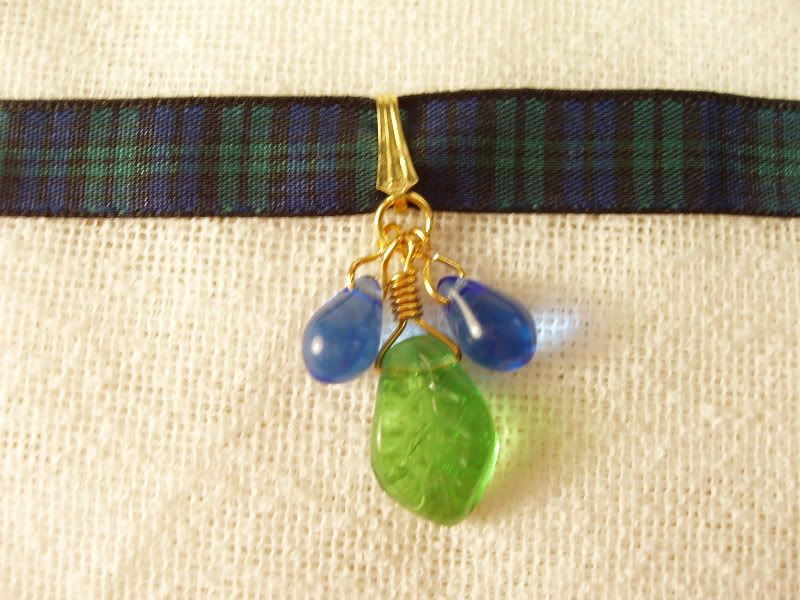
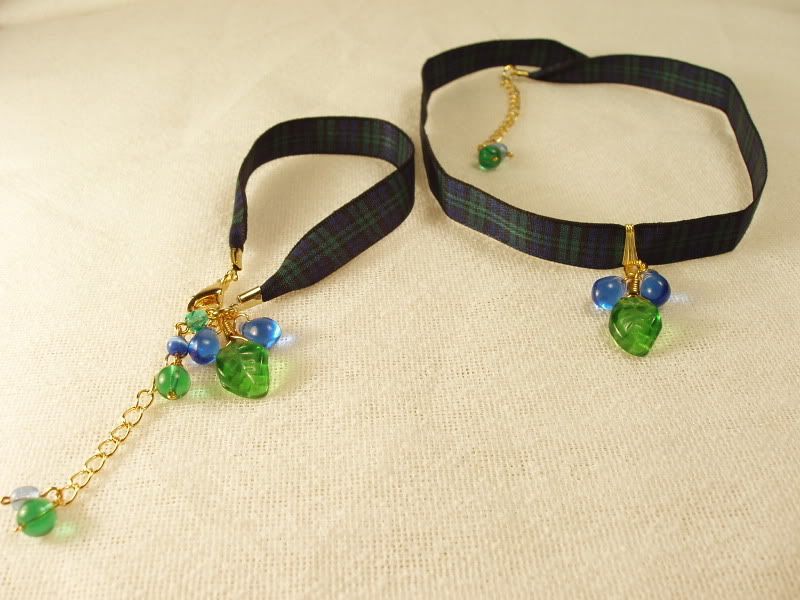
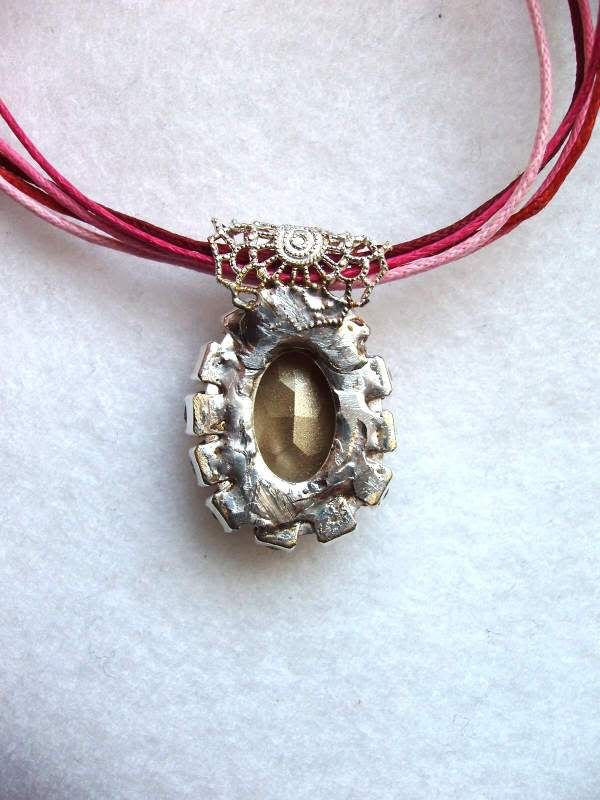
See selleks... Teise katse puhul kinnitasin vajalikud jubinad plastiliini. Ja-jah, tean küll, et see sulab kergelt, aga ma polegi kunagi näinud keevat plastiliini :) Kui välja jätta hirmrasket tööd plastiliinilögast kivikeste puhastamist (hambaorgiga), siis täitis plastiliin oma eesmärgi. Tinutamine läks kergelt, kõik jubinad püsisid ilusasti paigal. Aga siis see riputamise koht... Tinutamise tööks on vaja mul lisa kätepaari. Muidu see teine ripats näeb eestpoolt täitsa kobe välja, kuid tagant poolt... See on ju puhasttõugu Frankenstein!!! Kaunitar ja koletis ühes eksemplaris :) See ripats läheb isetegija.net Värvispektri roosa mai alla.
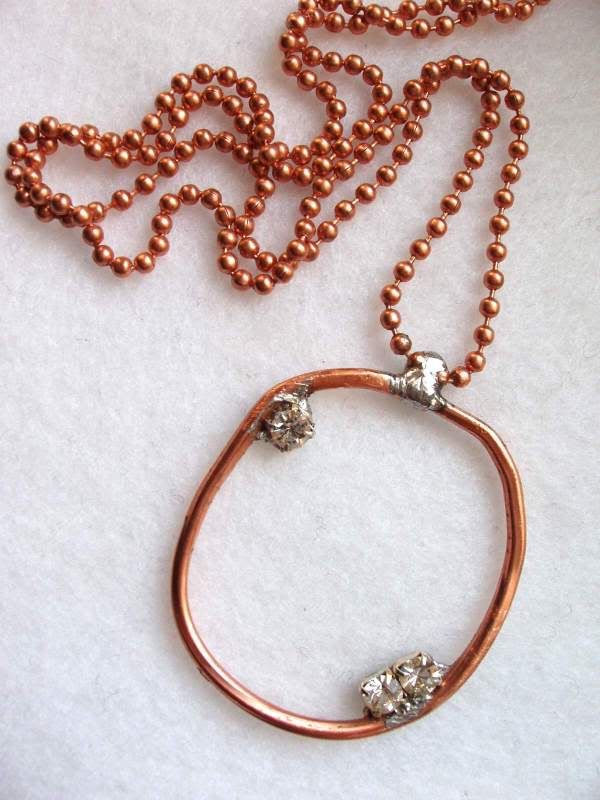
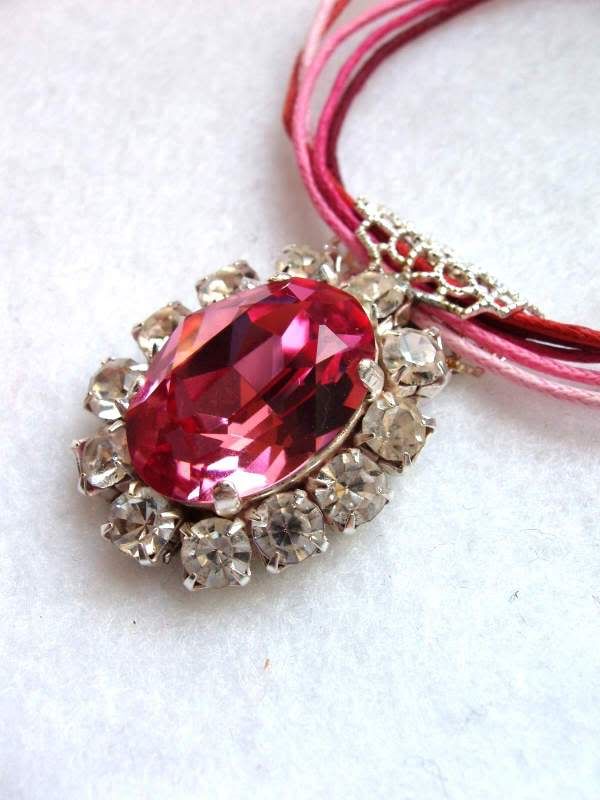
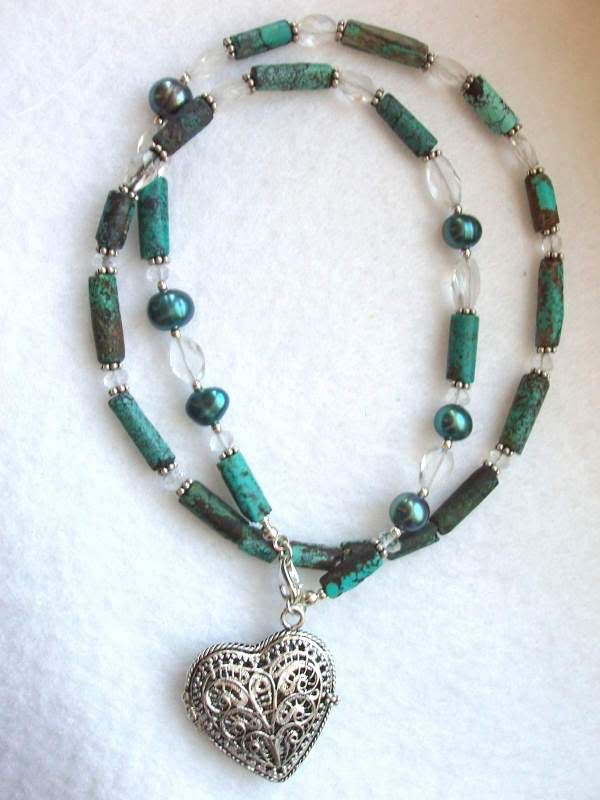
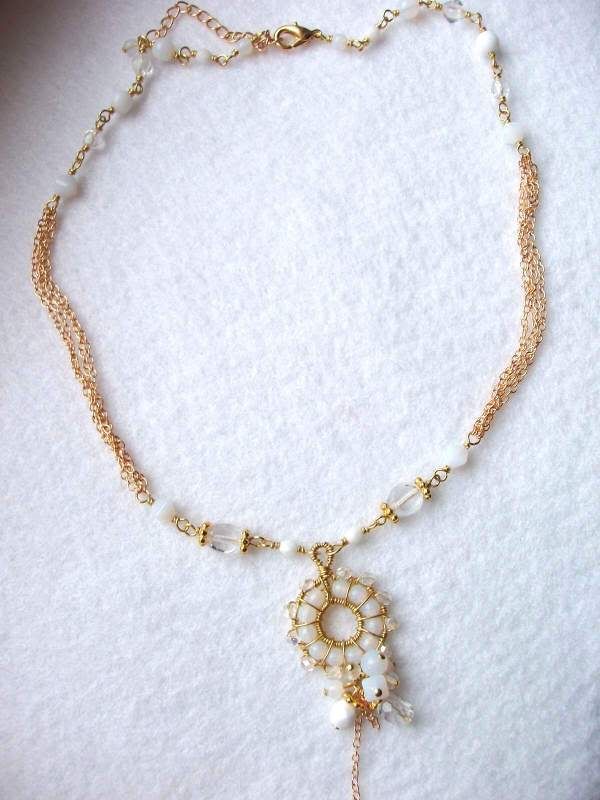
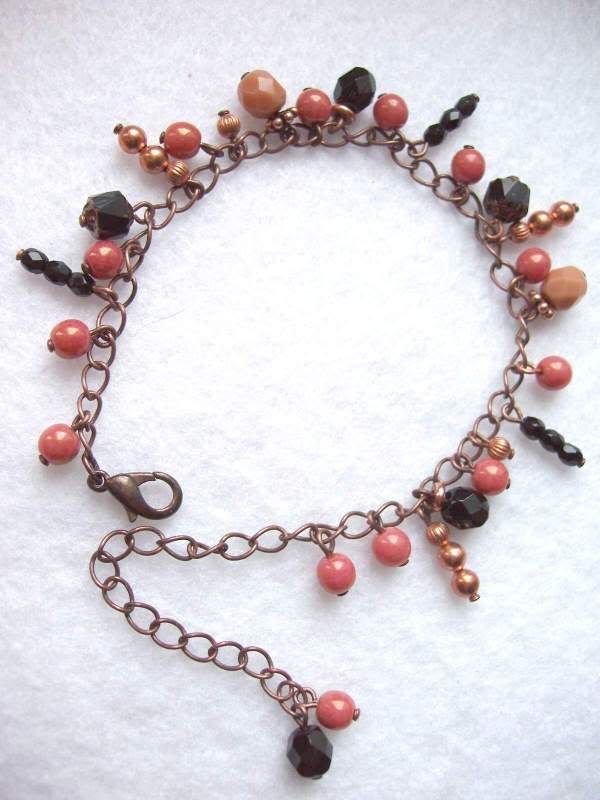
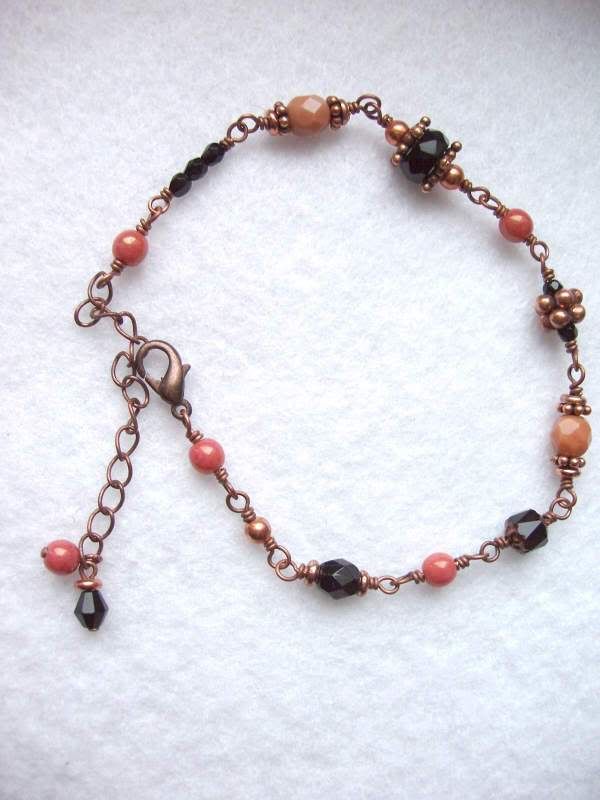
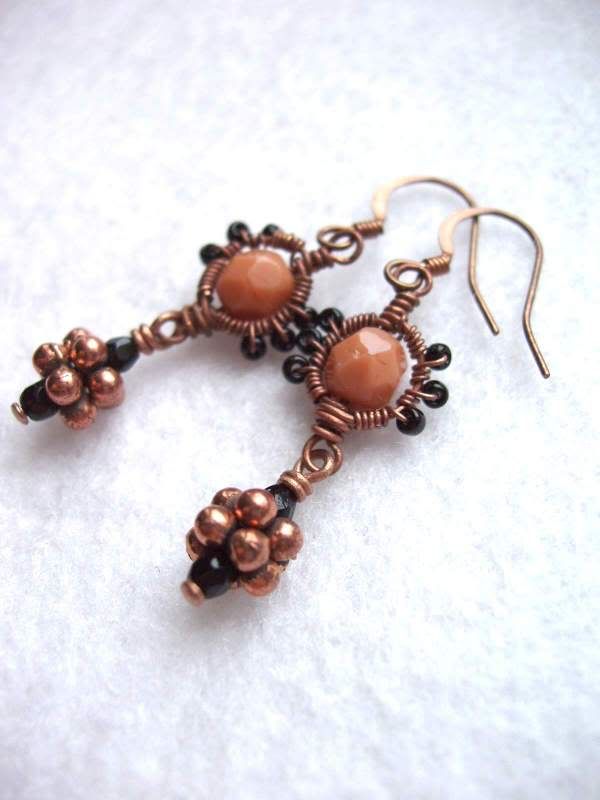
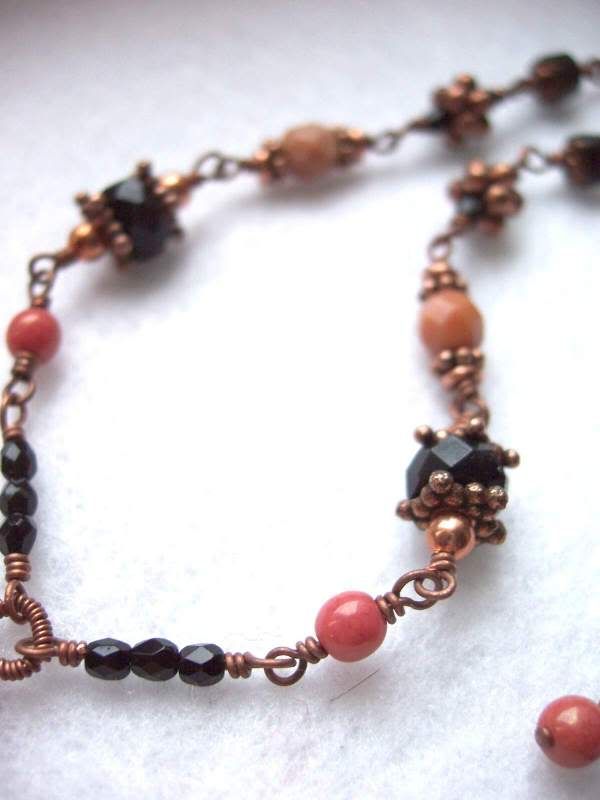
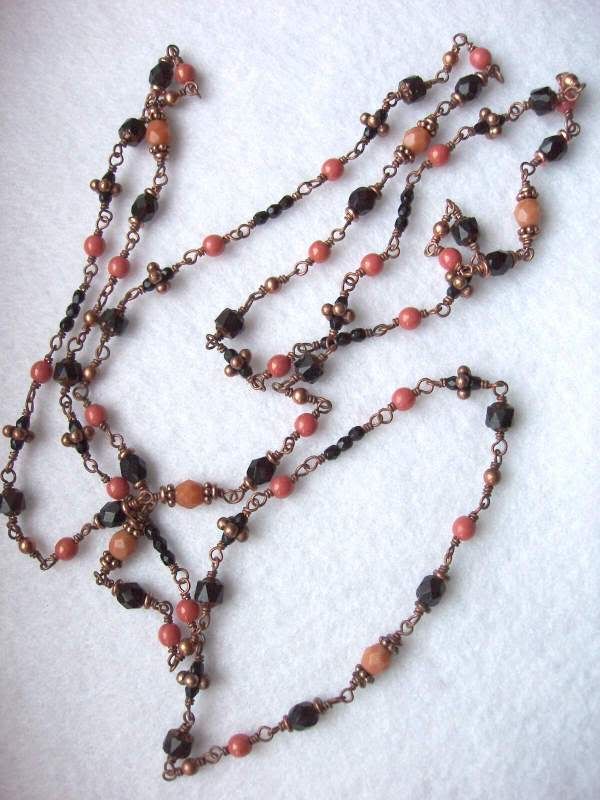
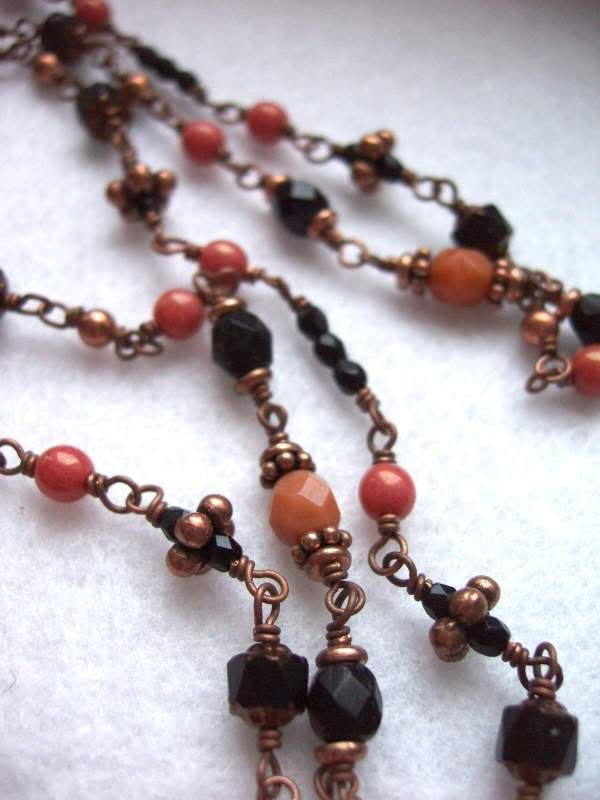
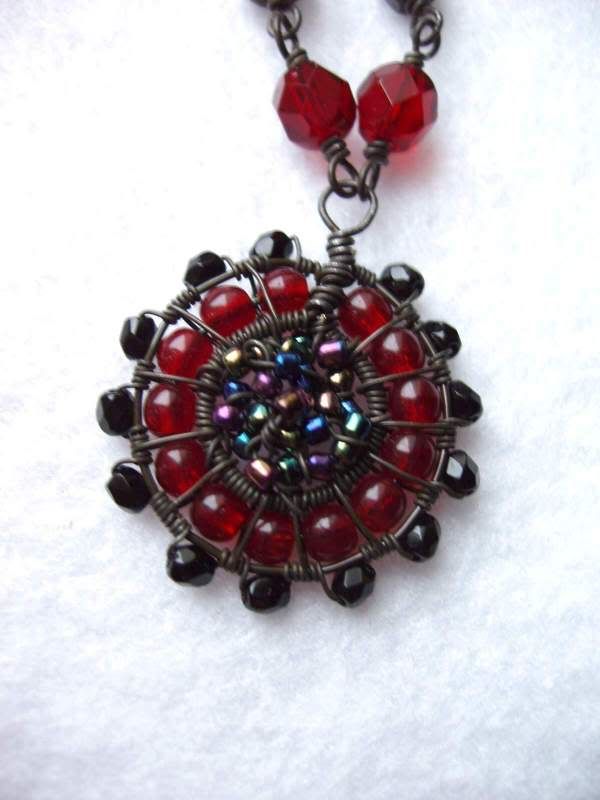
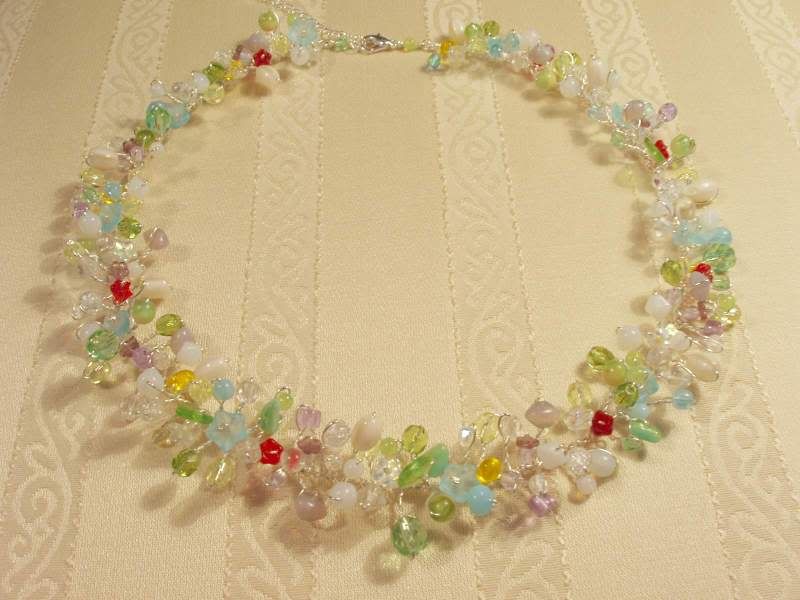
These are my first two attempts of soldering. I'm sure people with a lot of experience in soldering will have a lot of laugh reading my text. But still, I don't have any specialists around to teatch and will to try is too big... I found an old soldering iron at home and wanted to give it a try. Oh well, it's so difficult. I don't know how to keep all the parts still - they're moving all around. The circle in the first necklace was good and easy - I bended the copper wire ends close to eatch other. But soldering those tiny cups with stones, aaarghhh...
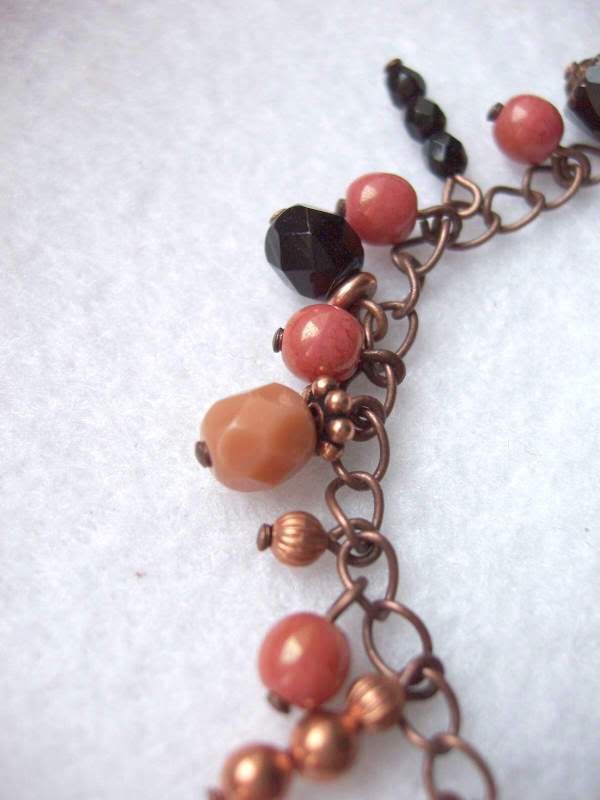
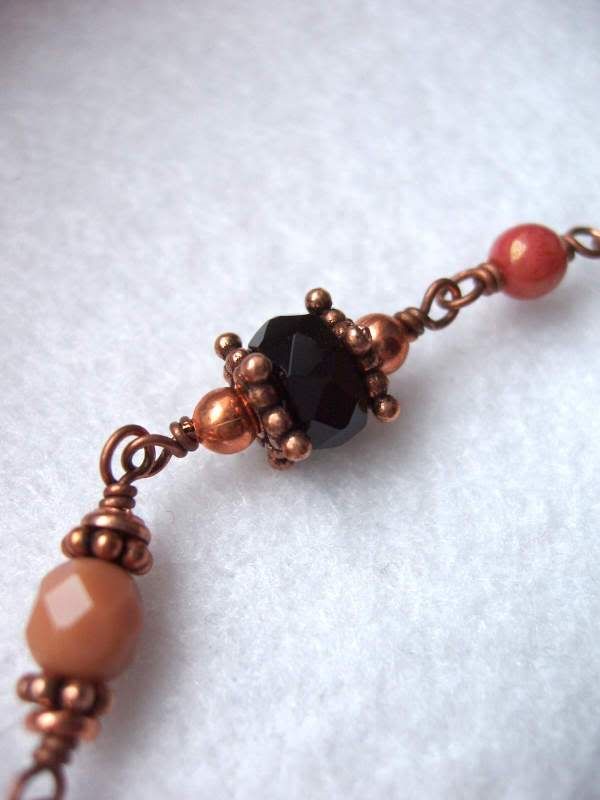
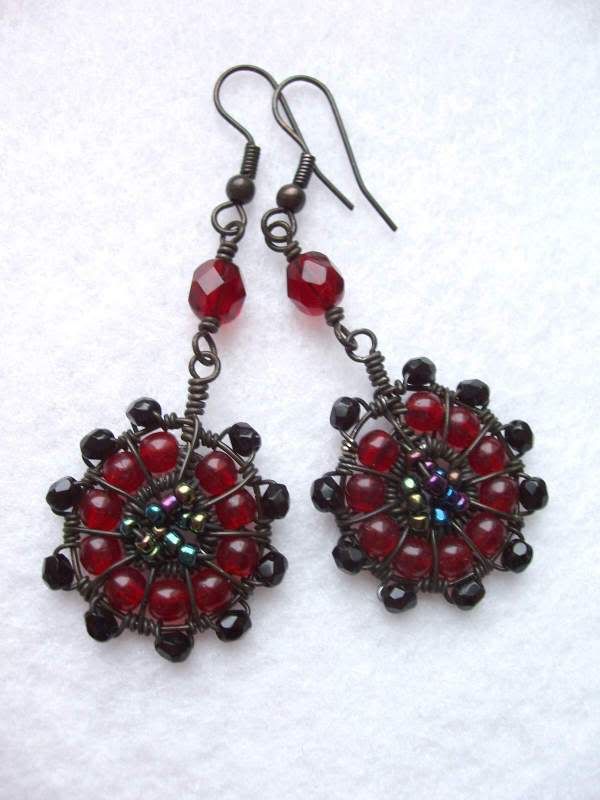
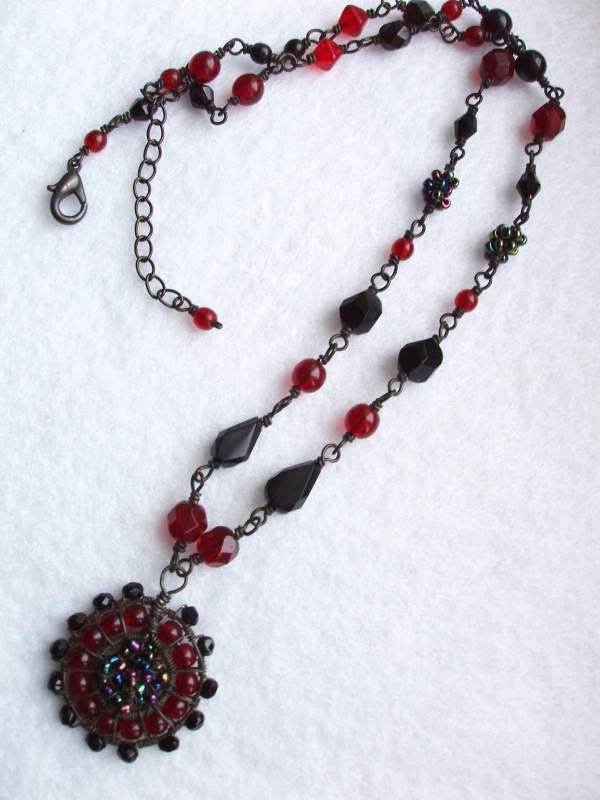
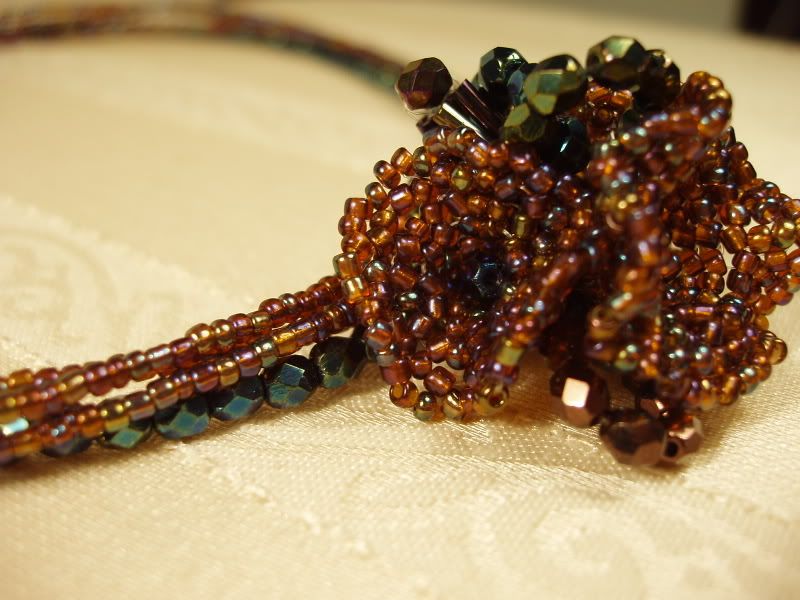
Anyways... At the second attempt I fixed the parts in a plasticine. Yes I did know it melts, but I haven't seen it boiling before :) When I count out the really hard work of cleaning the pendant (with toothpick) from the sticky plasticine I could say it did its work. The pink stone and cupchain were still and soldering wasn't that hard. Except soldering the bail... I definately need an extra pair of hands. The second pendant looks ok in front, but the back side... it's a Frankenstein I tell you!!!